Embroidery production guidance · Global distributor support Plan a sample sew-out
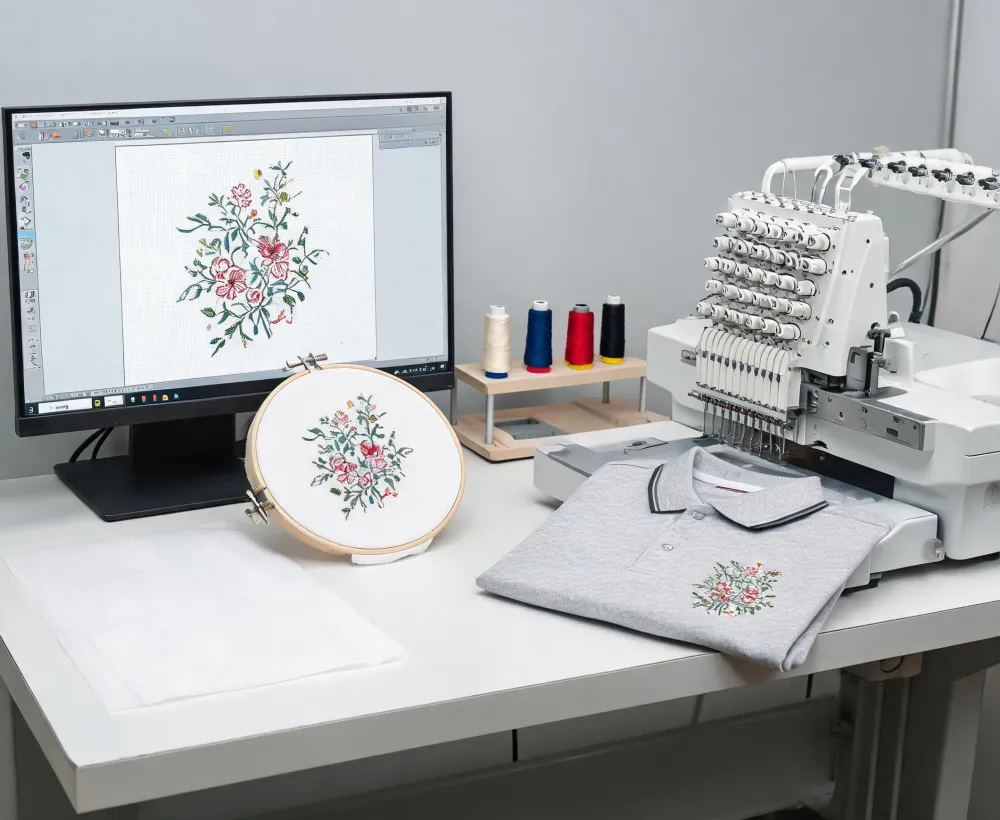
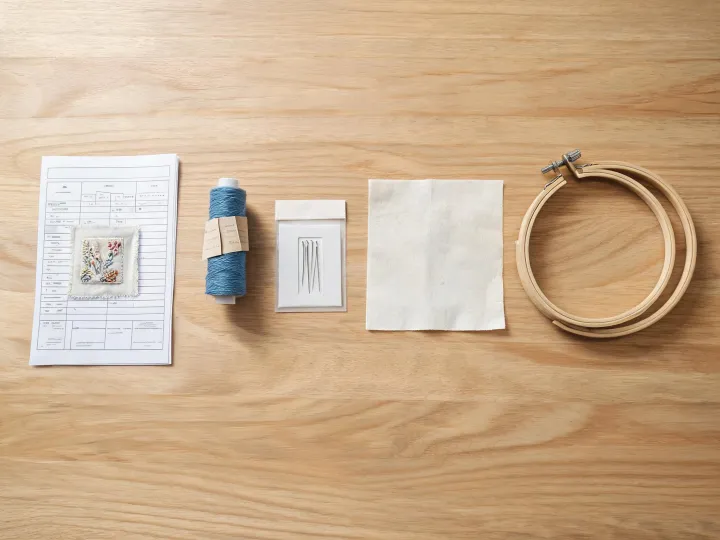
Embroidery application board with sample file hoop and finished garment
Application library

Barudan Embroidery Application Workflow

Use this page to structure the questions behind a machine demonstration: how artwork becomes stitches, which variables deserve control, what evidence to record, and when a result cannot be transferred to another material or fixture.

Follow the test path
From brief to reference sample

The journey of one production file

Brief

Begin with the finished article

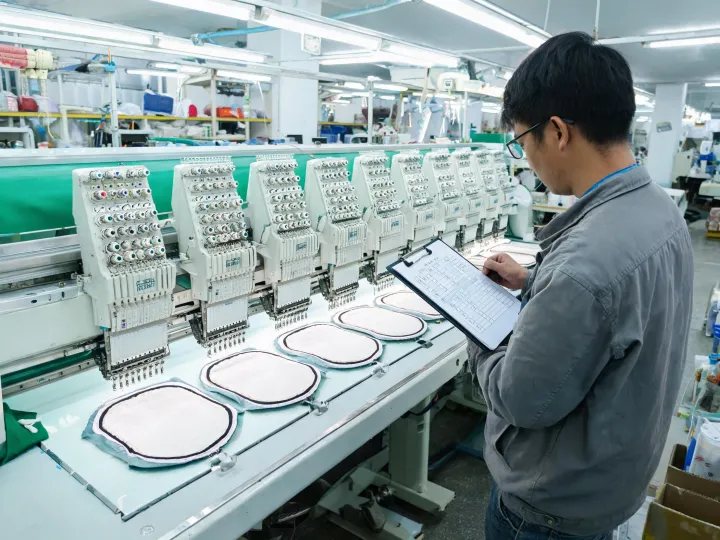
A buyer submits artwork dimensions, color count, expected quantity, substrate, placement, construction details, backing preference, hoop or cap-frame requirement, and the deadline. The brief also names the operators and the production constraints: floor space, shift coverage, upstream garment preparation, downstream trimming, and inspection capacity.

“A machine demonstration becomes useful when every observer can identify what was controlled, what changed, and what outcome was accepted.”Barudan application planning principle
Method

Turn artwork into a testable recipe

Digitizing choices such as stitch type, underlay, density, pull compensation, sequence, trims, and travel paths interact with thread, needle, backing, hoop tension, fabric stretch, seams, and operating speed. The technician records the file revision and creates a sample condition sheet before the run begins.

Evidence

Inspect both the sample and the process

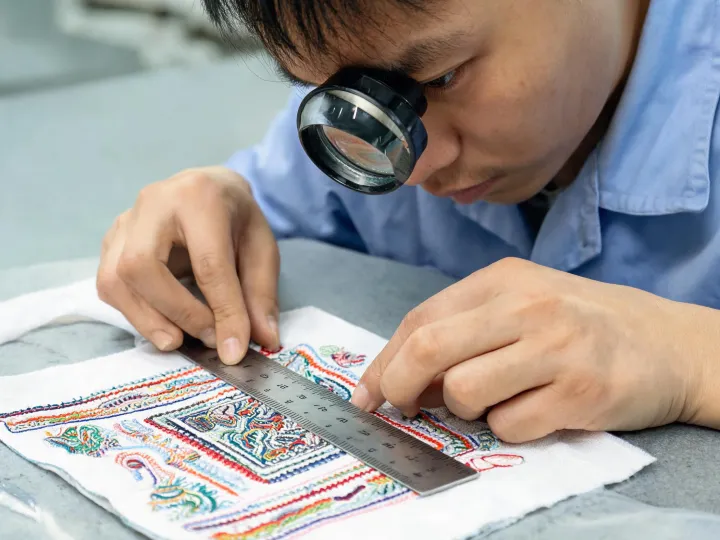
The team records runtime, thread breaks, bobbin changes, visible registration error, puckering, coverage, trims, manual interventions, and operator comments. If a variable is changed, a new result is logged. This avoids attributing a digitizing correction, material change, or loading improvement to the machine alone.
Trade-offs to discuss before head count and price

There is no single configuration that maximizes flexibility, parallel output, access, staffing simplicity, and floor efficiency at the same time.

A single-head cell can suit sampling, personalized work, frequent design changes, and finished-garment access. A multi-head line can multiply identical output, but it also demands coordinated loading, prepared work in process, sufficient operator coverage, and room to recover when one position needs attention. Compare the total workflow, not head count alone.

A faster setting may reduce the needle-cycle portion of a job, yet dense artwork, delicate thread, stretch fabric, thick seams, cap geometry, and long stitches may require a more conservative setting. Test the actual design and capture both cycle time and quality events. Published maximums are not a promise of the same result on every article.

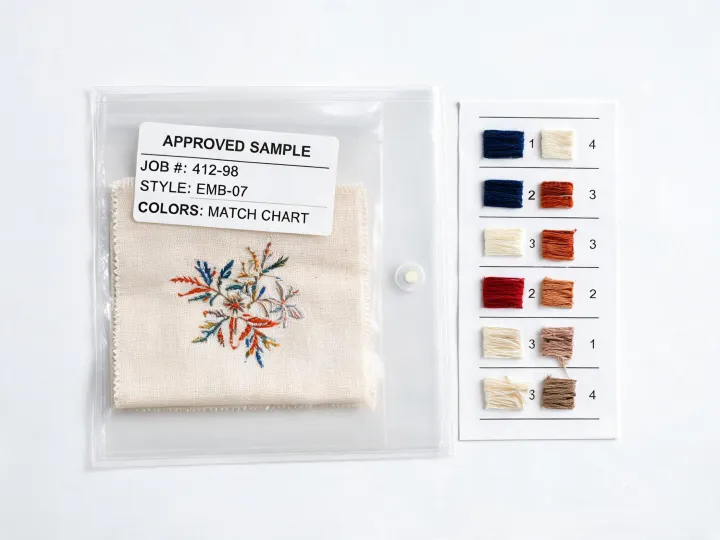
An approved result on stable woven fabric does not automatically validate stretch knit, pile fabric, coated material, leather-like goods, structured caps, or layered upholstery. Preserve a reference sample and condition sheet for each materially different construction. Re-test after changes to digitizing, thread, backing, needle, fixture, or critical settings.

Prepare the test

Send one representative file and one difficult material

Describe the intended garment, placement, batch, color count, fixture, and operator environment. Add the quality conditions that matter to your customer. The distributor can use that information to define a witnessed sew-out and state which model details require confirmation in regional documentation.